Residential Solar PV in London & Surrey: What to Expect from Survey to Switch-On
Thinking about residential solar PV for your home in London or Surrey? The process—from roof suitability checks to switching your system on—can seem complex, but knowing what to expect makes all the difference. We’ll walk you through every step, including surveys, design, DNO approvals, installation, and ongoing support, so you feel confident and informed before you commit. Let’s take a clear look at how your solar journey unfolds. For more information, you can explore this guide for homeowners.
Suitability and Design
Before jumping into the solar world, you need to know if your home is fit for the job. Let’s explore how to determine if your roof can support solar panels and how the design process works.
Roof Suitability for Solar
Finding out if your roof can handle solar panels is crucial. First, assess the orientation and angle. South-facing roofs are ideal. If your roof has a pitch between 30 to 45 degrees, that’s even better. Next, consider shading. Are there trees or buildings blocking the sun? Too much shade can reduce efficiency. Lastly, check the roof condition. A sturdy roof free from damage is essential for holding solar panels securely.
If you’re unsure about your roof’s suitability, a professional solar installer can help. They’ll conduct a detailed assessment to ensure everything’s in place for optimal solar performance. This step is key to making sure your investment pays off in the long run.
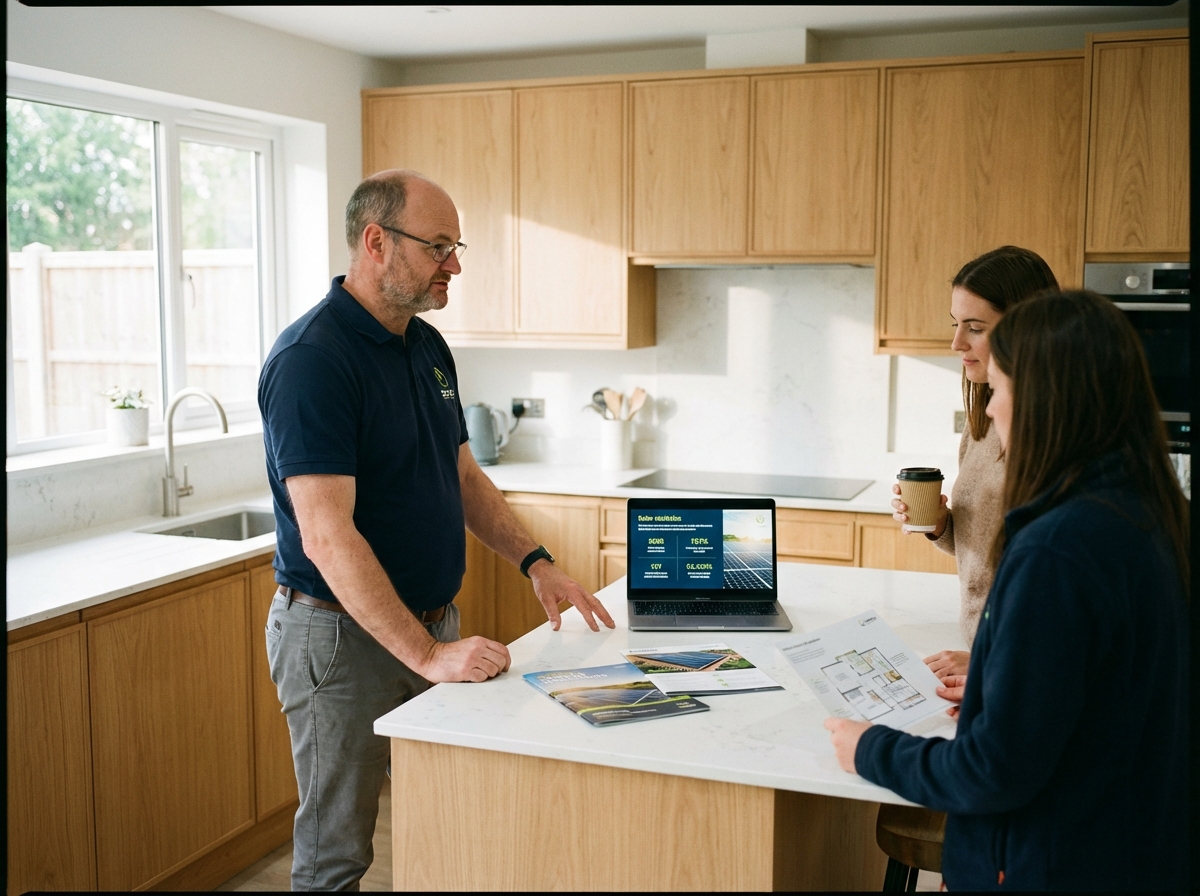
Solar Survey and Design Process
Once you’ve confirmed your roof is suitable, it’s time for a solar survey. This involves a detailed inspection by experts who will examine your home’s specific conditions. They’ll look at your energy needs, roof size, and sunlight exposure to tailor a system just for you.
The design process follows, where specialists create a plan that outlines the placement of panels and other components. This plan is critical as it helps you understand how your system will work and the benefits it will bring. Trustpilot-rated companies are preferred for a reliable survey and design process.
DNO Application G98 G99
The next step involves getting approval from the Distribution Network Operator (DNO) for connecting your system to the grid. This is where the G98 or G99 application comes in. Think of it as a safety check ensuring your system won’t disrupt the local power supply.
The process is straightforward. Your installer handles the paperwork, submitting the necessary details about your system. Approval can take a few weeks, but it’s a vital step in ensuring your system complies with local regulations. This part might seem like a hurdle, but it’s essential for a smooth solar installation.
Installation and Commissioning
Once approvals are in place, it’s time to get the panels up and running. This phase involves installing the physical components and setting up the system for operation.
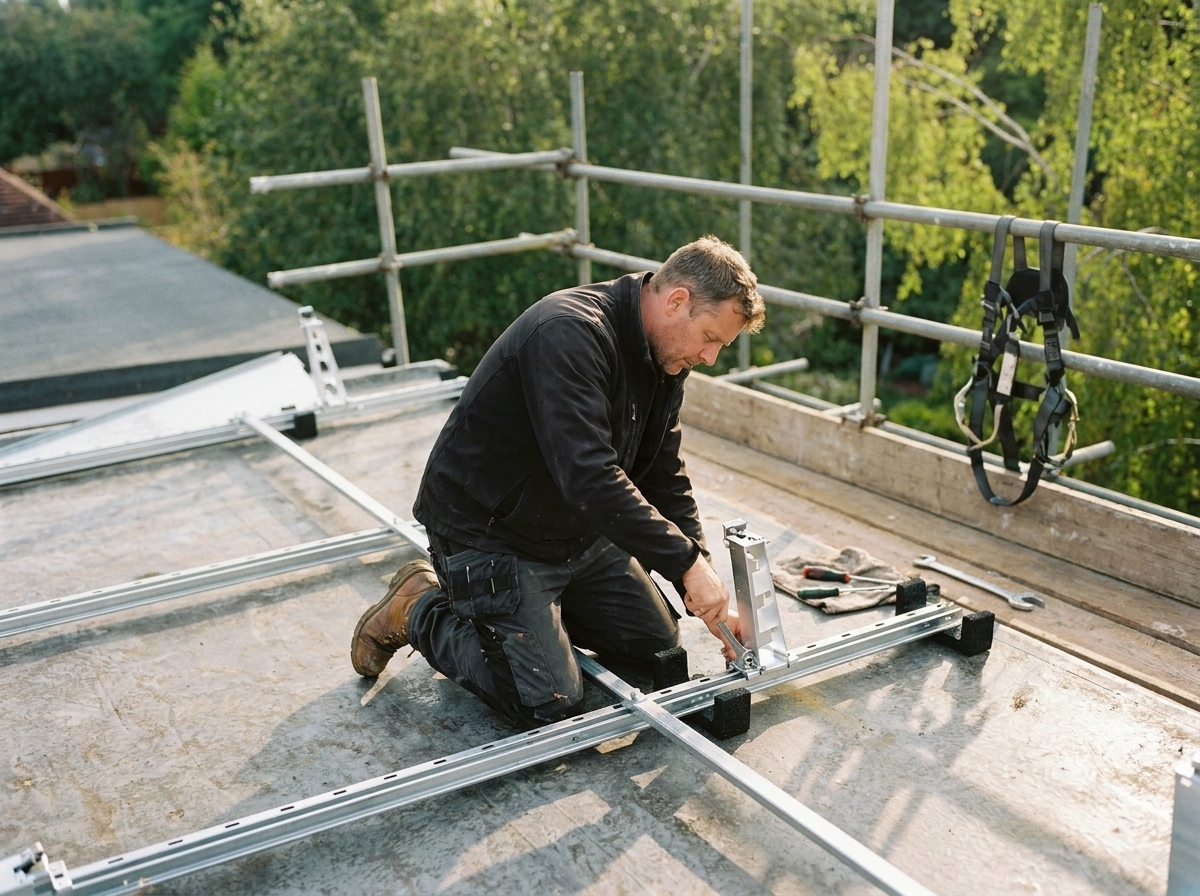
PV Installation Timeline
Installing solar panels is quicker than you might think. Typically, the physical installation takes just 1 to 3 days, depending on your roof’s complexity. The process begins with mounting the panels securely and connecting them to the inverter.
Expect a team of professionals at your home, working efficiently to keep disruptions minimal. They ensure everything is set up correctly, from wiring to securing panels. This quick turnaround means you’ll soon be generating your own electricity.
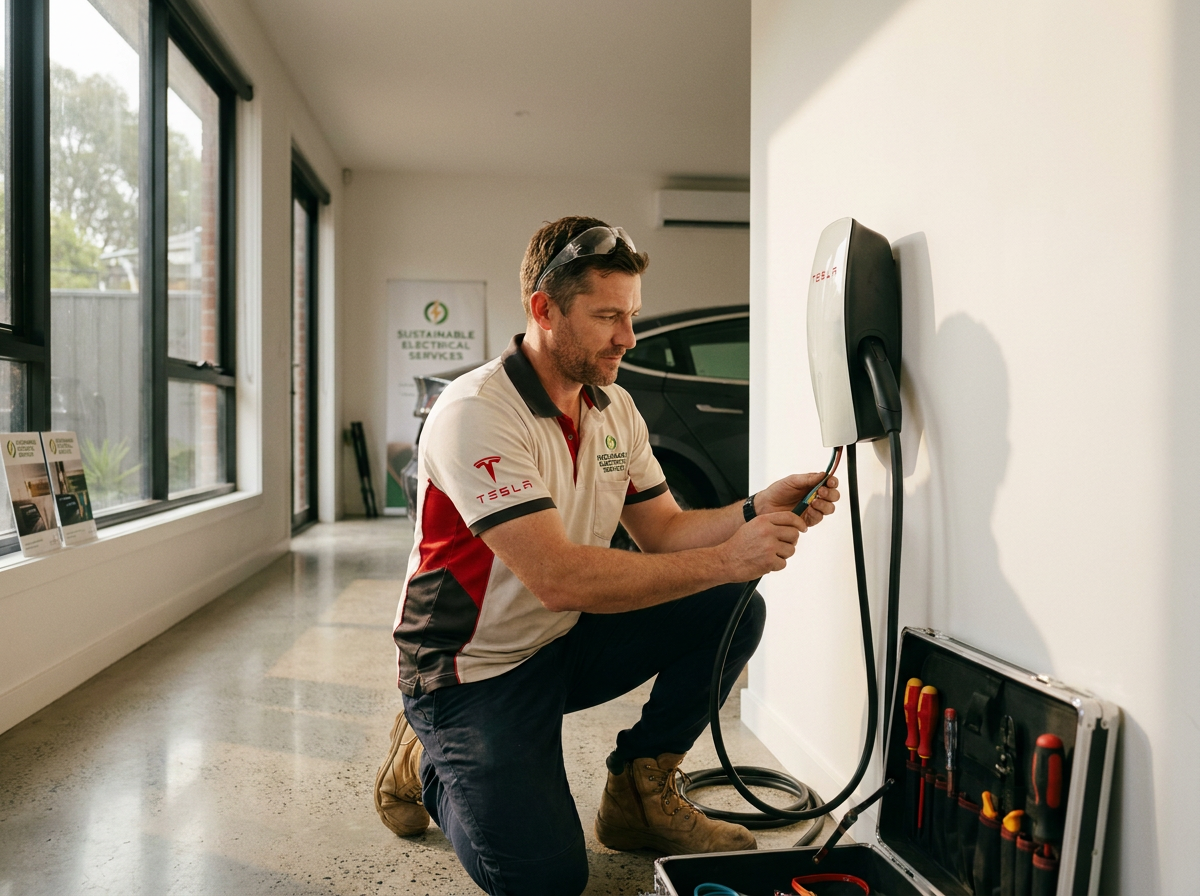
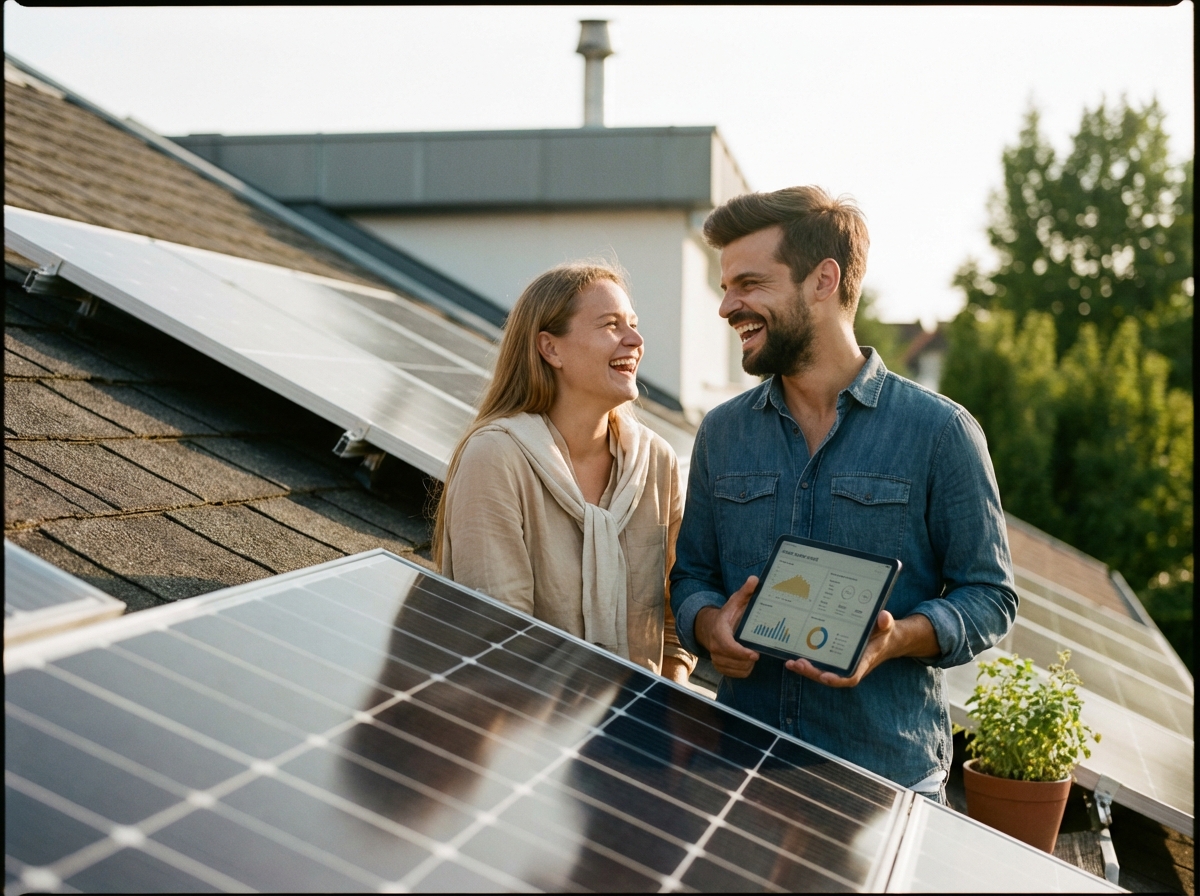
Inverter and Monitoring Setup
The inverter is the heart of your solar system. It converts the DC electricity from the panels into AC electricity, powering your home. Installing the inverter is a crucial step, ensuring your system operates smoothly.
Additionally, setting up monitoring tools allows you to track your system’s performance. These systems provide real-time data on energy production and usage. By keeping an eye on this data, you can maximise your solar investment. Monitoring setups often include apps that make tracking easy and convenient.
MCS Certification and Handover
After installation, your system needs to be certified by the Microgeneration Certification Scheme (MCS). This certification is proof that your system meets high standards and is eligible for government incentives like the SEG tariff.
The handover involves your installer walking you through the system, explaining how it works and how to maintain it. This ensures you’re fully equipped to manage your solar setup. Remember, a certified system not only provides peace of mind but also enhances the value of your home.
Aftercare and Benefits

Once your system is up and running, it’s time to focus on maintenance and the long-term benefits solar power brings to homeowners.
Solar Warranties UK and Support
Solar systems come with warranties that cover various components. Typically, panels have a 20-25 year performance warranty, ensuring they produce a certain amount of power over time. Inverters generally have a 5-10 year warranty, often extendable.
Having reliable support is crucial. Many installers offer ongoing maintenance packages, ensuring your system runs smoothly. With proper care, your solar investment will continue to pay dividends, providing clean energy for years to come.
Domestic Solar Cost UK and Payback
Thinking about costs? On average, a solar PV system in the UK costs between £5,000 and £8,000. However, with energy savings and the SEG tariff, you can expect a payback period of 7 to 10 years.
This investment not only reduces your electricity bills but also increases your property’s value. Over time, the savings can be substantial, making solar a wise financial choice. It’s a step towards energy independence and sustainability.
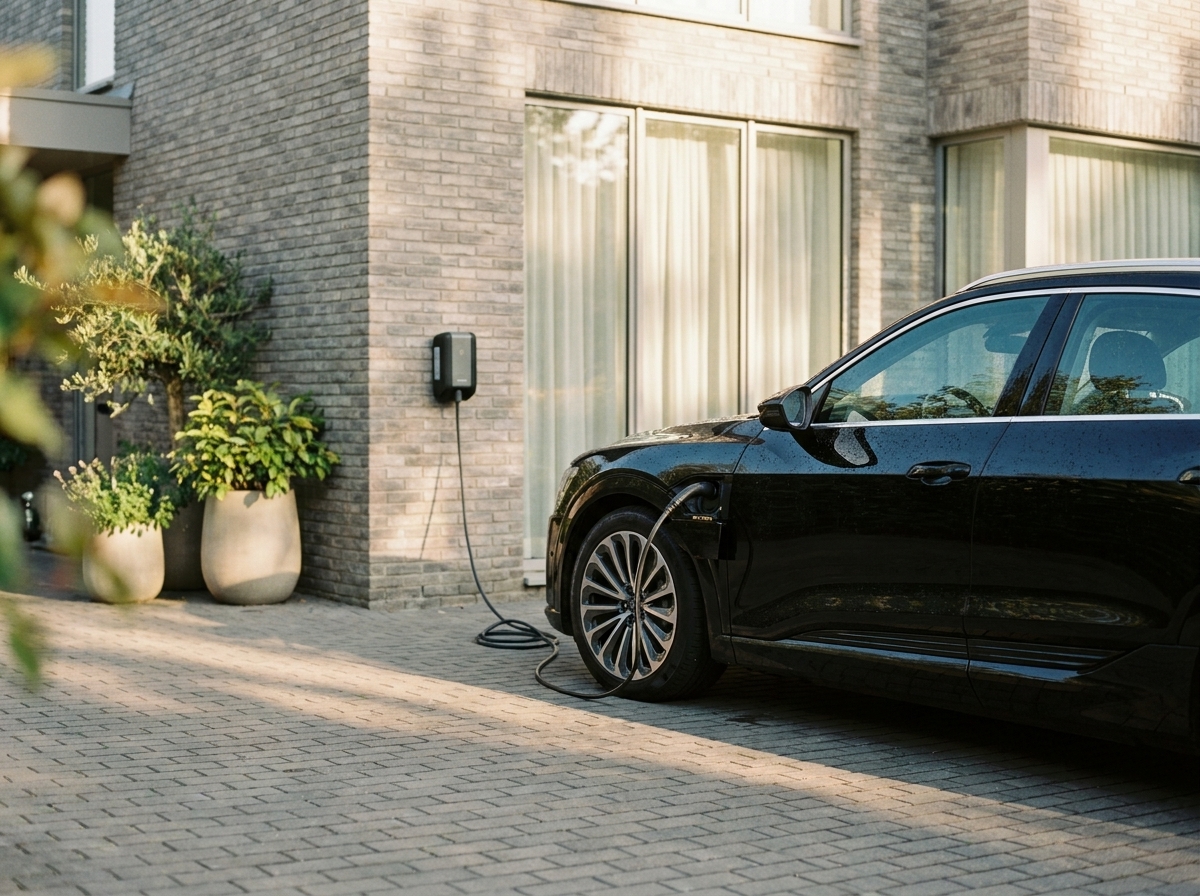
EV Charger Ready Solar and SEG Tariff
Your solar setup can also prepare you for future tech, like electric vehicles. Installing an EV charger alongside your solar system means you can power your car with clean energy. It’s a smart move for eco-conscious homeowners.
Additionally, the SEG tariff allows you to earn money by selling excess energy back to the grid. This scheme incentivises efficient energy use, maximising your solar benefits. It’s a win-win situation—saving money while contributing to a greener planet.
In conclusion, the journey to solar power involves a few steps, but each brings you closer to energy independence. With the right guidance, you can transform your home into a hub of clean energy, benefiting both your wallet and the environment.